It has been so long since I've posted on my blog. The reason is I have been in mourning. I have lost a bunch of my hair!!! It all started in March of 2011. I started using a product I later raved about and now will warn you about.
I started using John Freida's Go Blonder gradual lightening spray in March. I used it 2-3 times per week on my roots mainly around my face. It worked! I didn't have to touch up my roots at all for 5 months! I was so excited that I posted a glowing review on my blog and told countless people how they too could save a bundle on hair colouring. In August it was time for colour. The spray did a good job of blending my roots and bought me a lot of time between salon visits, but it was time to freshen up my colour. I got my hair coloured the same way I have for many years (same product, same technique, same stylist). After the colour was washed out the damage was immediately noticeable. About 2 inches from the roots all around my face, my hair was completely fried. When combing it wet those areas sprung right up into a frizzy disaster. It felt spongey and gross. One I dried my hair it was dry and frizzy. Over the next few weeks my hair broke off and I was left with WAY too short bangs and frazzled ends :-(. I have been wearing my lulu lemon headband everyday for months to hide the mess. Now the shorter hair is too long to hide in the headband, but still too short to wear as bangs, so I'm in such an awkward stage. I have been dealing with this mess for months and hope this post will prevent any if you from having to go through it. I did look online after this happened to me and found a handful of other cases like mine.
I have been doing everything imaginable to try to condition and fix my mess of a mane, which has introduced me to some great new products and other hair stuff I am excited to share! I will have a few hair posts to put up soon!
In the meantime, stay far far away from the John Freida Blonding spray!!!
Be well.
Sarah xo
Thursday, December 1, 2011
Saturday, July 16, 2011
Makeup Quick Tips Series #2
1) Curl your lashes before putting on mascara. You can hit your lash curler quickly with your hair dryer, but be careful! Curl very close to the base of your lashes holding for 5 seconds, then move the curler half way up your lashes and hold for another 5 seconds.
2) Before wearing a matte lipstick give your lips a scrub. Matte lipsticks show every imperfection and dry skin on the lips-not pretty. Use a drop of olive oil and a pinch of sugar to rub over your lips. This will leave your lips in perfect condition for matte lipstick!
3) Try using a concealer or matte highlight powder 2 shades lighter than your skin down the centre of your nose. This will straighten your nose and make it appear thinner!
Wednesday, July 13, 2011
Please Tweeze!!!
This is my plea to get all women to pay closer attention to their eyebrows (or less attention in some cases!!). There are those "over tweezers" or the "brow pencil worshipers" and sadly there are women that don't do a thing to their brows! Please, please, please if you are the later, tweeze and trim please! Cleaning up your eyebrows can add dimension to your face, make your eyes look more open and increase your lid space!
I go to get mine threaded every 6 months or so and then maintain in between by tweezing and trimming. You can go to a salon or do it all yourself, either way something is most often better than nothing.
Here are some tips to brow shaping;
1. Use a baby teething gel to numb the skin before you tweeze. This is helpful if you are very sensitive to tweezing and/or if your going in for a major overhaul!
2. DO NOT use a magnifying mirror! This is probably opposite to what you would have assumed. Using a magnifying mirror increases the chance you will over tweeze. If you need 10x magnification to see the hair, then it's not noticeable.
3. Using the picture below as a guide, use a makeup brush, rat-tail comb or a pencil to determine where to start, arch and finish your brows. Rest your pencil beside your nose vertically up to your brow, that is where your brows should start. Tweeze between the eyes between those points to avoid the dreaded "uni-brow"!
Next, from the same position tilt the pencil so that it runs through your pupil up to the brow. This should be the highest part of your brows (the arch). Tweeze any hair under that area to make it thinner and arched.
Finally tilt the pencil more to just inside the corner of your eye, this is where your brows should stop.
4. Trimming your brow hair is a step most often ignored. This is so important! Sometimes you can get a crazy unruly brow hair that wants to do it's own thing and can completely ruin your look. Comb your brow hairs straight up with a brow brush or clean mascara spoolie and trim the hairs with a pair of brow scissors. You will be amazed at your transformation!
![]()
I go to get mine threaded every 6 months or so and then maintain in between by tweezing and trimming. You can go to a salon or do it all yourself, either way something is most often better than nothing.
Here are some tips to brow shaping;
1. Use a baby teething gel to numb the skin before you tweeze. This is helpful if you are very sensitive to tweezing and/or if your going in for a major overhaul!
2. DO NOT use a magnifying mirror! This is probably opposite to what you would have assumed. Using a magnifying mirror increases the chance you will over tweeze. If you need 10x magnification to see the hair, then it's not noticeable.
3. Using the picture below as a guide, use a makeup brush, rat-tail comb or a pencil to determine where to start, arch and finish your brows. Rest your pencil beside your nose vertically up to your brow, that is where your brows should start. Tweeze between the eyes between those points to avoid the dreaded "uni-brow"!
Next, from the same position tilt the pencil so that it runs through your pupil up to the brow. This should be the highest part of your brows (the arch). Tweeze any hair under that area to make it thinner and arched.
Finally tilt the pencil more to just inside the corner of your eye, this is where your brows should stop.
4. Trimming your brow hair is a step most often ignored. This is so important! Sometimes you can get a crazy unruly brow hair that wants to do it's own thing and can completely ruin your look. Comb your brow hairs straight up with a brow brush or clean mascara spoolie and trim the hairs with a pair of brow scissors. You will be amazed at your transformation!
Good luck and please don't over tweeze, brow hair seem to grow in painfully slow. If you feel overwhelmed tackling your brows for the first time, go to a professional. Get them shaped and then all you have to do is maintain them with the odd tweeze and trim here and there.

Sunday, July 3, 2011
June Favourites!
Wow I can't believe it's that time again already! Favourites time! I love doing these posts. I take a look at all of my beauty products and see what I have been favouring over the last month. It is a great opportunity to reflect on what I've been enjoying or retire some products that are not working so well.
My Favourites:
![]() Bath & Body Works Signature Vanillas Triple Moisture Body Cream in Coconut Coco
Bath & Body Works Signature Vanillas Triple Moisture Body Cream in Coconut Coco
![]()
![]() Jergens Natural Glow Daily Moisturizer
Jergens Natural Glow Daily Moisturizer
I tried this product years ago but my legs did not like it. I ended up getting small bumps on my legs after using this moisturizer so I ended up giving it away at the time. I have been hearing people talk about this a lot lately and decided to give it another shot. I have used it about 5-7 times in the month of June and I am shocked at the amount it actually coloured my legs. I got the medium to dark formula as my skin is naturally a little darker. I could see how much it worked due to the fact I didn't rub it in as well as I should have. I didn't put too much care into blending it in as I thought that it would be such a gradual self tanner, but I was wrong, it didn't take long at all for my skin to start turning tan and glow! I now blend carefully and use it about twice per week.
![]()
Coastal Scents Silica Powder Spheres
This product is quite the find! It is a dupe for the Makeup Forever HD powder but for a fraction of the cost. I got this for $4.95US and it's going to last me a long time. A little goes a long way with this powder. Using too much can leave a white cast. This powder sets foundation beautifully and leaves your face with a soft focus appearance. I use it on it's own for the most part, but have also mixed it with my skin toned loose powder as well!
![]()
![]()
![]()
My Favourites:
 Bath & Body Works Signature Vanillas Triple Moisture Body Cream in Coconut Coco
I love the Triple Moisture Body Creams! They are fantastic at keeping my legs and feet soft and ready for summer sandals and shorts/skirts/dresses! The smell of this particular one is so yummy! Even my husband commented on this. I use it every night before bed and add a little extra on my heels as needed.

Maybelline FIT me! Liquid Foundation
I have this in shade 220 and it is a perfect match! I ran out of my Makeup Forever Mat Velvet + foundation and thought I would try this out until I can get out to Sephora. I am pleasantly surprised! This is a medium to full coverage and lasts all day, even on hot days. I tried a few different application methods but found using my traditional foundation brush gave me the best finish. I will definitely repurchase this foundation! I joined Maybelline online and was able to print off a $5 off coupon!

I tried this product years ago but my legs did not like it. I ended up getting small bumps on my legs after using this moisturizer so I ended up giving it away at the time. I have been hearing people talk about this a lot lately and decided to give it another shot. I have used it about 5-7 times in the month of June and I am shocked at the amount it actually coloured my legs. I got the medium to dark formula as my skin is naturally a little darker. I could see how much it worked due to the fact I didn't rub it in as well as I should have. I didn't put too much care into blending it in as I thought that it would be such a gradual self tanner, but I was wrong, it didn't take long at all for my skin to start turning tan and glow! I now blend carefully and use it about twice per week.

This product is quite the find! It is a dupe for the Makeup Forever HD powder but for a fraction of the cost. I got this for $4.95US and it's going to last me a long time. A little goes a long way with this powder. Using too much can leave a white cast. This powder sets foundation beautifully and leaves your face with a soft focus appearance. I use it on it's own for the most part, but have also mixed it with my skin toned loose powder as well!
LUSH "Buffy" Body Butter
Buffy is a large body butter bar that you use on wet skin in the shower. It has shea butters and cocoa to moisturize and it has ground rice, almonds and beans to exfoliate. There is no need for moisturizer following this treatment as Buffy leaves your skin soft and moisturized. The smell is incredible! I do find that it exfoliates well and is quite abrasive so I use this only 1-2 times per week. The other days I just used a moisturizing body wash, which leads me to my next favourite...


St. Ives Oatmeal & Shea Butter Moisturizing Body Wash
I could just smell this body wash all day long! It does exactly what it is supposed to do; washes well, moisturizes and smells fantastic! I use this with a large shower puff and it really lathers! It is very inexpensive--BONUS!!

Estee Lauder Artist's Eye Pencil in "Softsmudge Brown"
This has been my go-to pencil for the past month. I generally use a brown rather than a black liner in summer for an everyday look. This pencil glides on well, lasts well in the heat and stays put. I tightline with it everyday and it makes my lashes look fuller and yet it is a soft no makeup, makeup look!
Wednesday, June 29, 2011
Makeup Quick Tips Series #1
I've decided to do a series of blog posts sharing some basic makeup tips. These tips are simple but work wonderfully. After applying makeup on a friend and talking through the application I realized how many tips she was picking up, tips that I thought were common knowledge as I've done them for so long and/or they are just second nature to me. My friend made me realize that many people may not know or have tried some of my tips/methods so I thought I would share them. Maybe you know them already, maybe you do something similar, maybe you prefer other methods. I just hope you pick up one or two pointers in this series and comment on the post and share your tips....I would love to hear them!
TIPS/TRICKS
* If you are using a sponge to apply foundation, ALWAYS (not sometimes) dampen your sponge. This will blend the foundation much better and provide a beautiful finish especially with a little stippling action plus it won't absorb as much product as a dry sponge would!
* Use a liquid concealer (often in a tube with a doe foot applicator) to conceal under the eyes. Liquids, rather than cream pots or sticks are thinner and are less likely to settle into fine lines and appear cakey. Be sure to pick a warm toned concealer for under the eyes to neutralize the cool tones of the skin there (dark circles are from the blue veins underneath).
* When applying lip gloss over a lipstick colour be sure to stick to the centre of the lips. Concentrating the gloss in the centre will give the lips a plumper look. You will also want to avoid gloss all the way into the corners of the mouth as it can look like you're drooling! haha
More tips to come!
Monday, June 27, 2011
"Just Another Mani Monday!"
My girlfriend actually turned up her nose when I picked up this colour off the shelf while out shopping the other day. I think she prefers brighter bolder colours, but something drew me to this subtle rose-gold polish. I am so happy I gave it a chance! It is Orly's "Chantilly Peach" and I think it is going to be my new go-to summer neutral polish!
I was hoping to try Essie's "Topless and Barefoot" and claim that as my summer nude, but I can't find it anywhere :(
Here is "Chantilly Peach", isn't it pretty?!

The formula is opague after 2 coats and dries quickly to a very frosted finish. One other thing I really like about Orly polish is the rubber lid/handle, it feels nice and a good grip lessens the chance of slips and mistakes!
I was hoping to try Essie's "Topless and Barefoot" and claim that as my summer nude, but I can't find it anywhere :(
Here is "Chantilly Peach", isn't it pretty?!
The formula is opague after 2 coats and dries quickly to a very frosted finish. One other thing I really like about Orly polish is the rubber lid/handle, it feels nice and a good grip lessens the chance of slips and mistakes!
Wednesday, June 22, 2011
Review: Maybelline One by One Volume Express Mascara
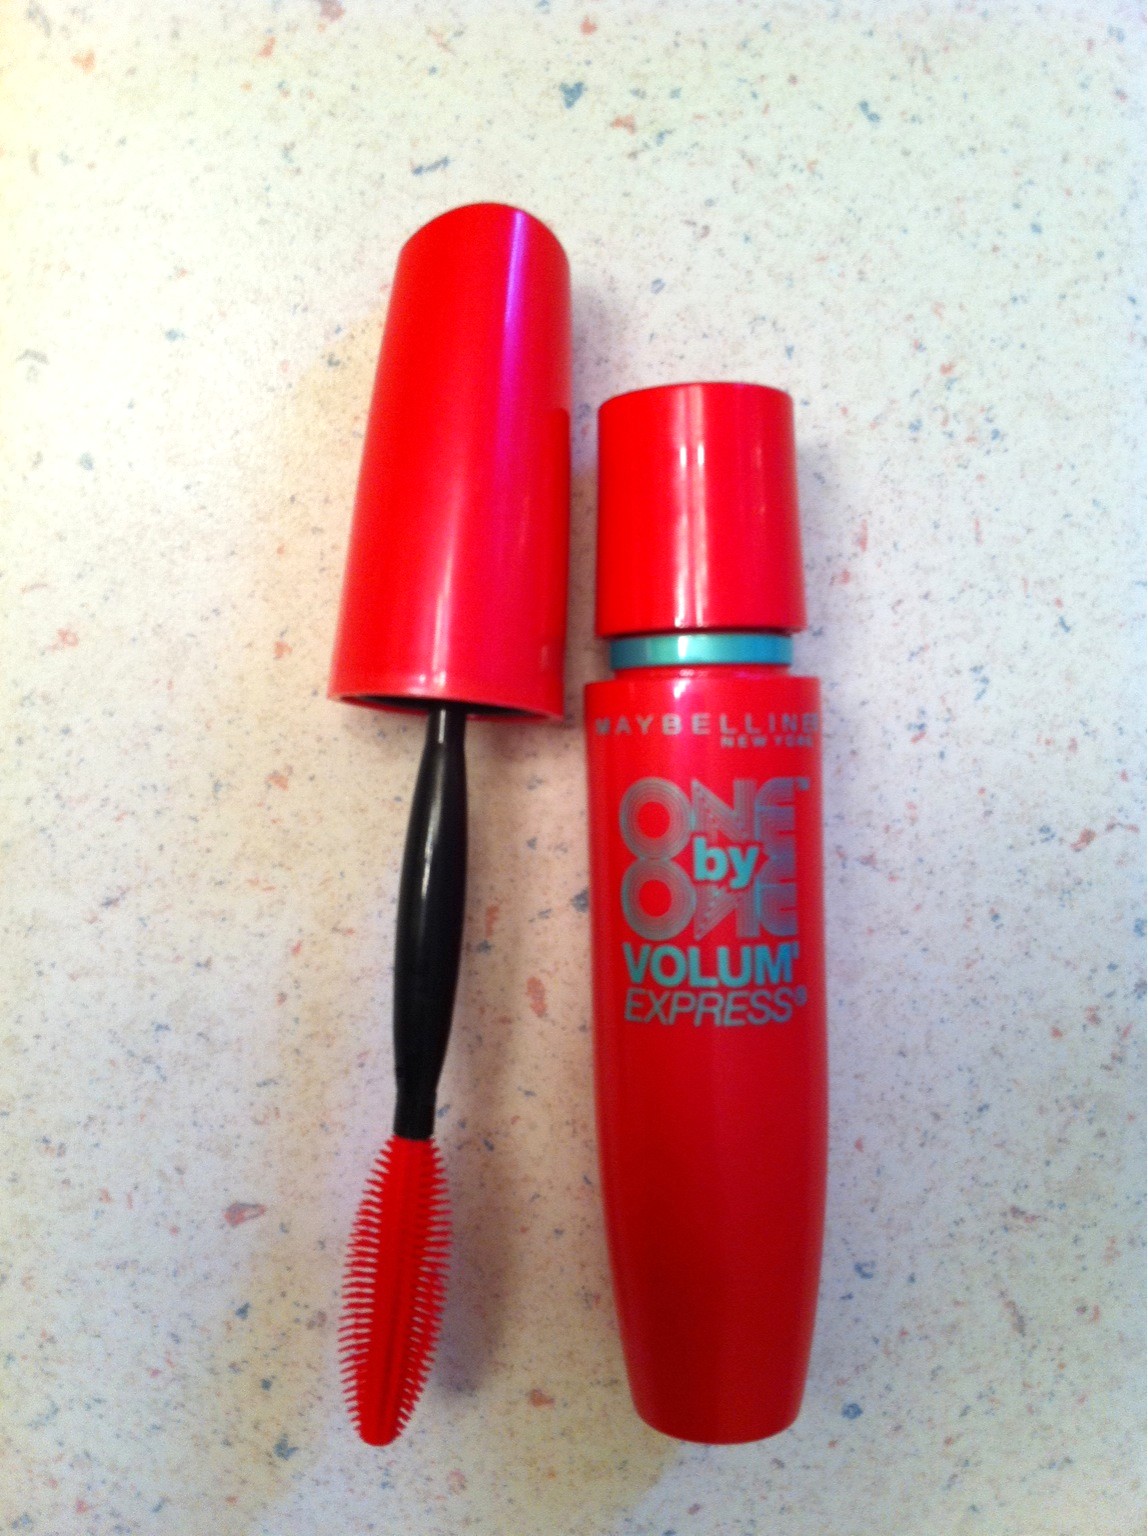 I've had my eye on this mascara for a while now but put off buying it because I have a few mascaras I really like on the go already. I finally caved when I found a $1.00 off coupon, it wasn't much but enough of an incentive to give it a try! I paid about $7.00 with the coupon.
 The applicator brush is plastic and very pliable. The formula does a decent job lengthening my lashes but doesn't add too much volume. The smell of the mascara is terrible, almost enough to make me stop using it :(
Overall, I wasn't overly impressed and I don't think I will repurchase this one once I use it up. As far as an everyday mascara, I will stick to my tried and true Covergirl Lash Blast Volume!

Subscribe to:
Posts (Atom)